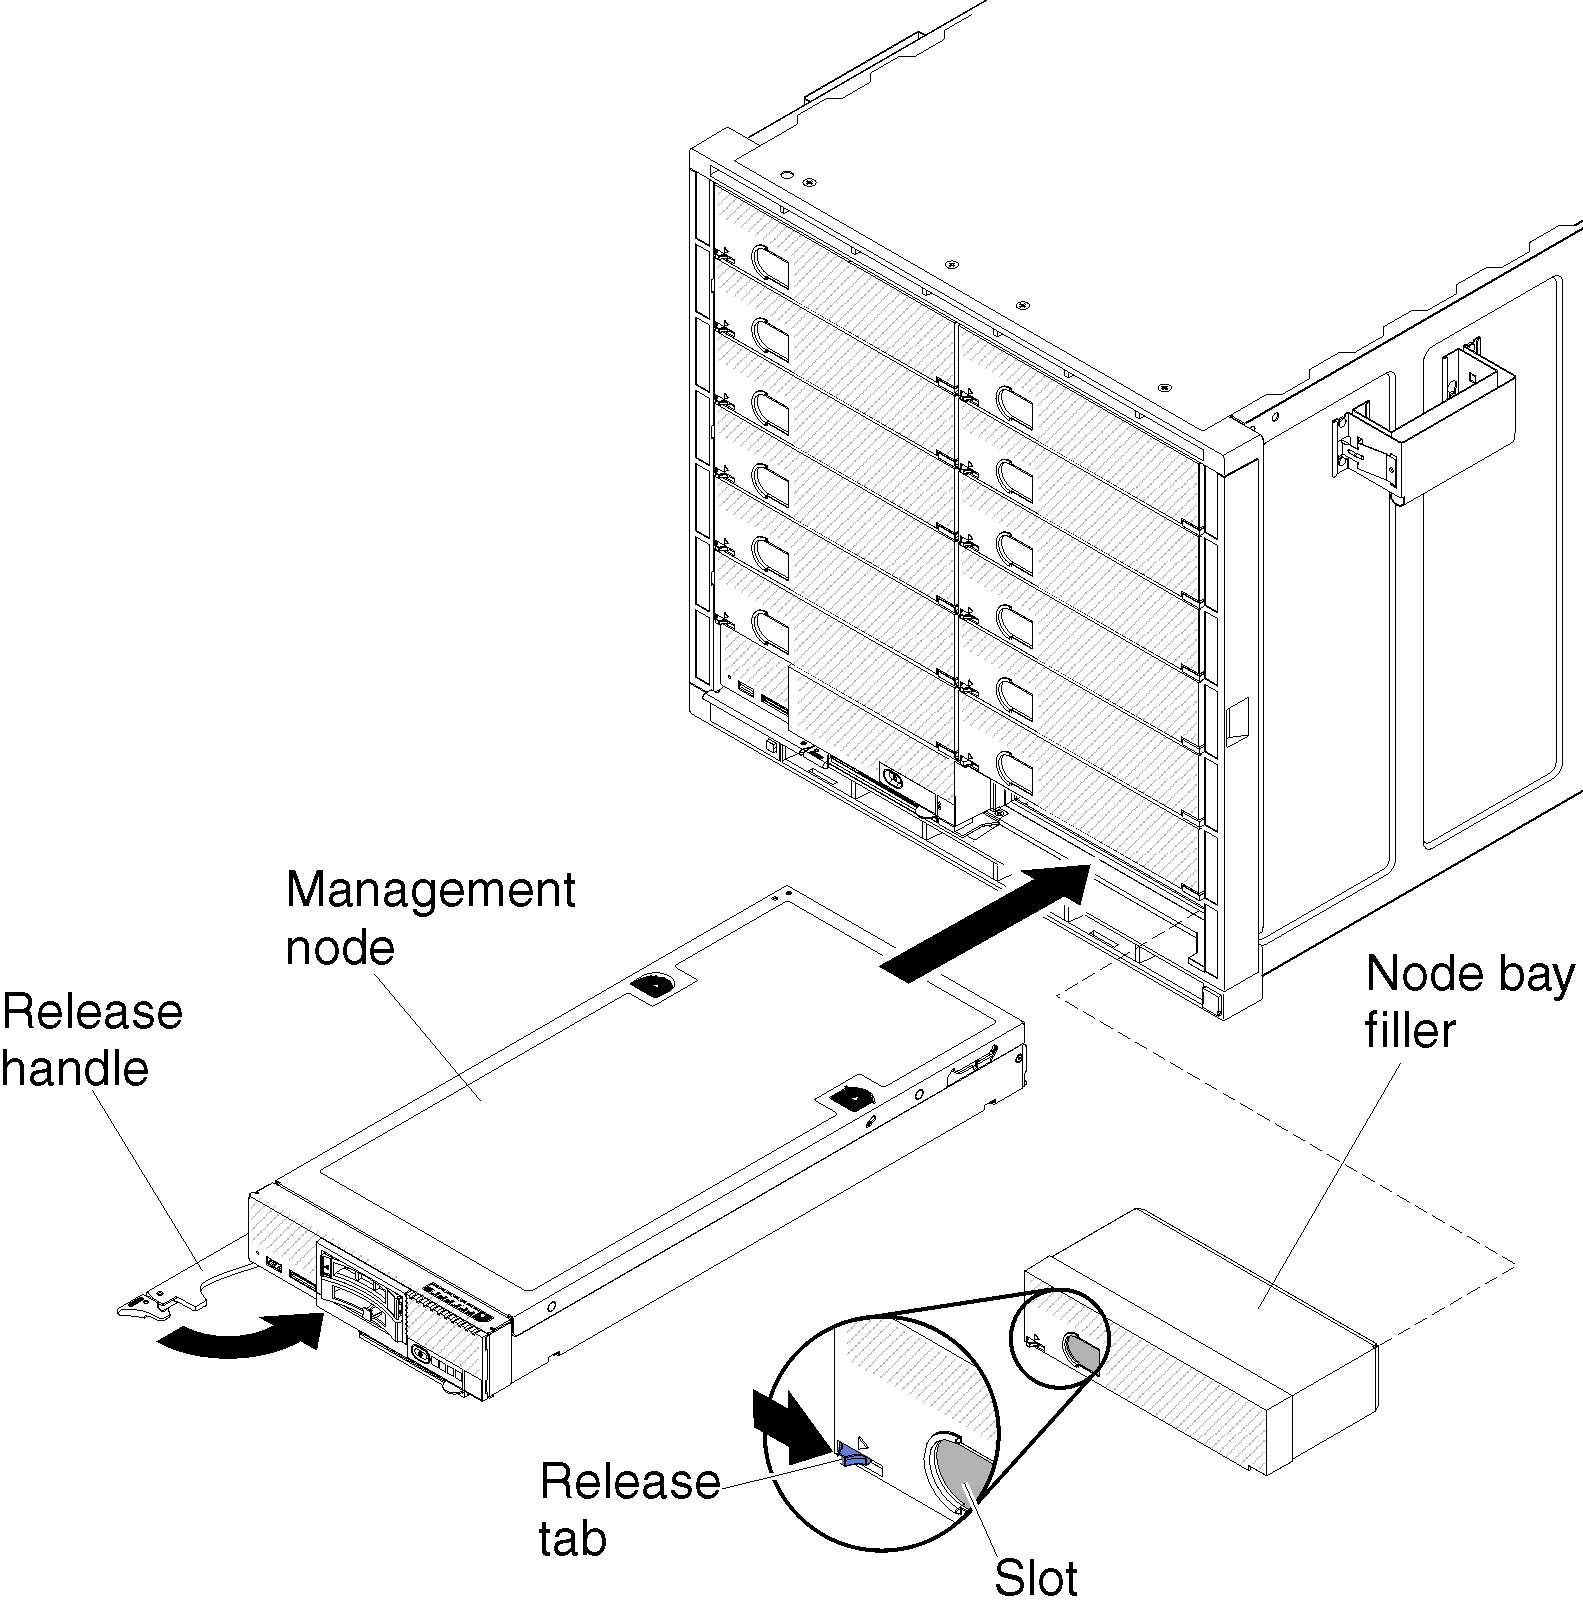
You can install one Flex System Manager management node in a multiple-chassis configuration.
Before you install the Flex System Manager management
node, complete the following steps:
- Make sure that enough power supplies and fan modules are installed in the chassis to support the management node. See Installing components to determine the number of power supplies and 80 mm fan modules that are required and where they should be installed in your chassis configuration.
- Read the Flex System Manager management node hardware description (see the Flex System Manager Installation and Service Guide for more information).
- Select the bay for the management node.
To install a Flex System Manager management node, complete the following steps.
After you install the Flex System Manager management
node, complete the following steps:
- Connect all cables to the management node.
- Configure the management node (see the Flex System Manager information page for more information).